When it comes to bikepacking, cycling has always been the easy part. In my opinion, the hard part of bikepacking is often just planning bikepacking routes you know will be enjoyable and safe.
I unfortunately had to learn the hard way and, looking back on my bikepacking career over the last decade, I wish I had spent time in the early years learning proper route planning. It would have put me on safer roads and really improved my cycling experience.
In this article, I will tell you my process of planning bikepacking routes, which should give you an amazing experience. We are going to be discussing:
- Bikepacking Route Planning Applications
- The Bikepacking Route Building Process
- Finding Bikepacking Routes

Route Planning Applications
When it comes to planning routes, the first place you need to start is by picking a route planning application. There are many available, and they all are fairly easy to use. Here are my top picks, from my favorite to my least used.
They are excellent for both planning on laptops and even just a smartphone. Komoot is a very high favorite for me, and once you know how to use it, it’s incredible.

The Bikepacking Route Building Process
Now for the exciting part. Let’s start showing you how to plan a route. Everyone’s route will be different, so I will keep it basic. I am using Komoot for this process.

Enter Main Details
The first step is to enter the main details of the ride you will be doing. Start by heading to Komoot and then clicking the route planner above the top bar. You should sign up for an account. I highly recommend doing so.
Now, you need to enter the type of bike you are going to be using. This is important so it puts you on the right roads and trails. The last thing you want on a route is to be taken on mountain bike trails on your road bike.
Next, you need to enter your fitness level. Try not to overestimate your ability. If you say you are a top-level professional, it will make a route to suit you and assume you will be riding much quicker than you are.
Then, we have route types. One way is where you go from one point to another. Round trip is where you start and finish in the same place. For example, a round route would start and finish you at home, and one way takes you straight to another destination.

Start, Route, And Finish Points
Then, you are going to need start, route, and finish points. Start with where you plan to leave from. It might be your house or a meeting point where other riders might be.
Once you have a start and end point, you can start clicking on the map on places you might want to go in between. I always check out Komoot’s points of interest as they have taken me to some really hidden gems.
You will be able to see all the details on the bottom of the ride from a distance, elevation, and expected time to finish, and it will even show you surface type, which comes in extremely handy.

Inspect And Adjust The Route
Next, I like to inspect the route to ensure it is going to be good for the riding I’m doing. Follow the route, and anywhere you feel you might be going on a busy road or rough terrain, and then take to Streetview and look. Komoot offers this option in a single click.
If it is ok, leave it in. If not, you can click on that section of the route and drag it to another road or include a small waypoint to divert it. There are even some tools on the internet, such as GPX Hyperlapse, where you can export the ride and watch it over a short video.
The more time you spend doing this, the better route you are going to make. Every extra 10 minutes spent looking at your route could open you up to some amazing sights that you might have missed and much nicer roads.

Make A Cheat Sheet For You Bikepacking Routes
The next thing I like to do is make a cheat sheet, and this is something I have always done in bikepacking to make my life as easy as possible when on an adventure.
This is where you mark locations on either notes on a piece of paper or even an application so you know about resupply and where to stop. It might look a little like this.

King’s Lynn – 40 Miles – Tesco 6 am to 10 pm (Food) / Butterfly Hotel 24h (Hotel)
Lincoln – 100 Miles – Sainsbury’s 6 am to 10 pm (Food) / Premier Inn 24h (Hotel)
Mansfield – 200 Miles – Spar 7 am to 9 pm (Food) / Travel Inn 24h (Hotel)
As you can see, I’m jotting points of resupply and sleep along the way that I might not use, but I know they are there, and it saves me having to find resupply points while riding. A cheat sheet takes the stress out of riding.

Export The Ride
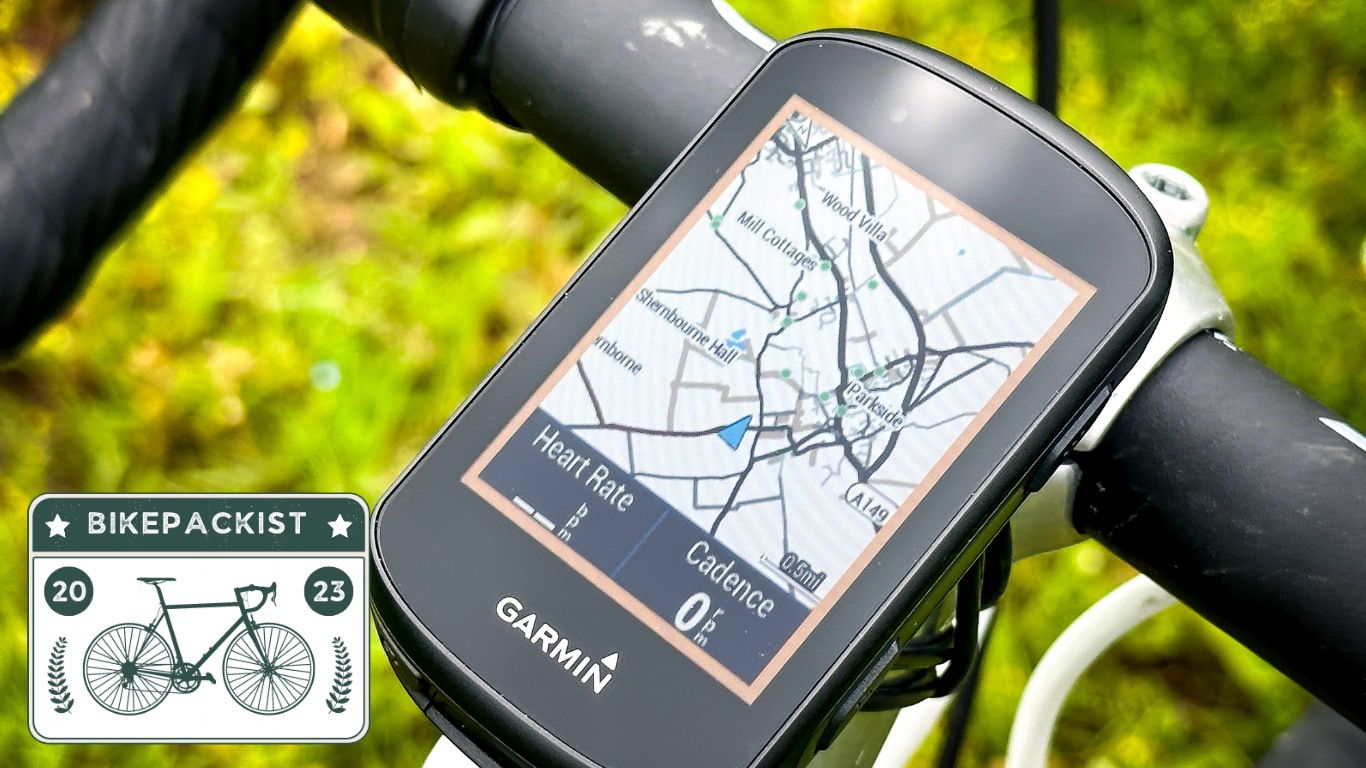
Then, finally, you need to export the ride to the device you are using. This can be done with the Komoot application, Garmin Connect, or others. I also recommend emailing the route to yourself and putting it on your phone on an application such as Mapout as a backup.
Finding Bikepacking Routes
Another way to go if you don’t enjoy planning your own bikepacking route is to find others. There are many websites where you will be able to find bikepacking routes that are tried and tested, made by local experts, and you will also find them to be much safer and better looked after.
It’s good to do a Google search for bikepacking routes in the area you want to explore and see what comes up. You also have websites like Cycling UK in England that tell you about some amazing, well-kept routes easy and cheap to get to.
You can also head to Bikepacking Facebook groups and forums to ask other bikepackers about bikepacking routes or even events that might interest you as not all the routes you are going to find are logged online.

Bikepacking Routes: A Final Note
Planning a good bikepacking route does take some practice, and the more you do it, the easier it gets. The best way is to start small in your local area, then once you feel confident making routes explore further away.
Thanks for taking the time to read this article. If you enjoyed this, you might like, How To Deal With Dogs When Bikepacking, 20 Top Tips For Beginner Bikepackers, and Best Bikepacking Upgrades.
10 responses to “Bikepacking Routes: How To Plan Your Own”
[…] right now, haha. The Netherlands is an incredible country for cycling, and the race was around 90% on cycle paths and 10% on roads, with most having a cycling […]
[…] you enjoyed this article, you might like Bikepacking Routes: How To Plan Your Own, The Ultimate Bikepacking Kit List, and Dealing With Dogs When […]
[…] and going into ultra races while bikepacking, every bit of weight you can take off, especially on a hilly course, matters. Again, this is only a small difference, but it could be a win or a loss in a […]
[…] will be times when a bikepacking route doesn’t work, and you have two options. Either drop the bikepacking trip and get transport or […]
[…] next step is to understand where you are going to get your information from. The route information, such as distance, climbing, and terrain, comes from the Komoot or RideWithGPS […]
[…] you enjoyed this article, you might like Bikepacking Routes: How To Plan Them, Bikepacking Kit Upgrades: The Ten Best, and Cycling At Night: How To Do It […]
[…] start with navigation. These applications can help you plan routes on the go and can help you get out of a mess when you […]
[…] for the best results, here’s what I recommend. It’s worth planning the food for your route […]
[…] The easiest solution to terrible route planning is using good applications such as Komoot, checking the roads using Google Maps Street View, and choosing safer routes over busier roads that might be quicker. Here’s an article on route planning! […]
[…] reason you might not enjoy bikepacking is that you’re bored. Maybe you have spent too long on similar routes or are just not going places that might excite you. I tend to spend too much time in Norfolk, where […]