For the past ten years, I have been bikepacking. I have had some amazing times and faced some incredible challenges. When I first started, I wasn’t a seasoned cyclist. I had barely ever ridden a bike, only when I was a child. Something I wish I had spent the time learning sooner was bikepacking repairs.
Nothing fancy, just the basics to get me going and fix any issues I might have while on an adventure. It wasn’t until I worked in a bike shop that I learned amazing skills that could have really helped.
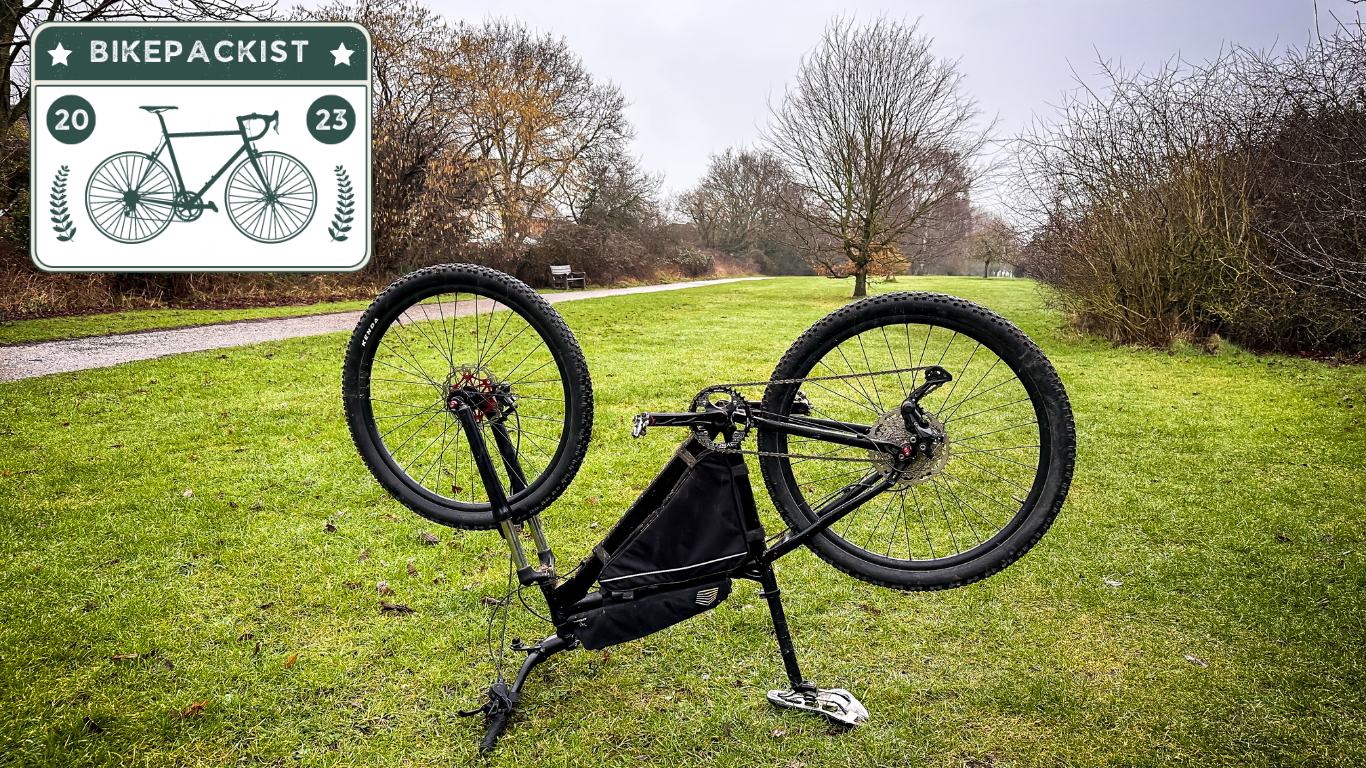
In this article, I want to run through the bike repairs that are a must learn when it comes to going on an adventure. Especially if you are heading into remote locations. Here’s what we will be discussing:
- Common Bikepacking Mechanicals
- How To Avoid Your Bike Breaking
- Tools And Spares You Should Carry For Bikepacking Repairs
- A Final Note: Bikepacking Repairs

Common Bikepacking Mechanicals
Let’s get straight to it! Here are the most common bikepacking mechanicals I have found when being on many adventures over the last decade!
Fixing A Puncture
The first repair you have to learn is how to fix a puncture. This is an essential skill for any cyclist to learn and is the most common problem you will find going wrong with your bike. This is when the inner tube in your tire gets a hole in and loses air.
It is vital to learn how to change an inner tube and patch an inner tube with a patch kit. If you are using a tubeless setup, you will also need to learn how to plug and swap out an inner tube. It’s a basic skill but must be practiced until perfection.

Booting A Tire
This has happened to me once, two hours into an ultra-cycling race, and essentially put me out of the running for a high place. When a tire gets ripped more than around 1 cm or more, it needs booting. The issue is that the inner tube sticks out and becomes vulnerable to getting ripped.
A tire boot is where you put a small piece of tire in between the hole and the inner tube to protect it. It’s a simple process of just installing it with a small drop of super glue or some tape and then repairing the puncture as you normally would.

Truing A Wheel
Although most modern wheels are very strong, there’s always a possibility that they might come out of true and cause you some issues. Truing a wheel for many does seem daunting, but once you understand the process, it’s easy.
Turn the bike upside down, and using a spoke key, you tighten the spokes near the bend on the rim to the side they are pointing to and loosen the opposite. It will pull itself over to where it needs to be, but I recommend going to a bike shop to get it perfected and spoke tension checked if you can.

Indexing Gears
It’s not rare for your gears to come out of adjustment after many miles, especially if you have a new cable installed and it is stretching. Having your gears skip is annoying and can lead to your foot slipping and you coming off the bike in a heavy climb, so it must be addressed.
Indexing gears takes a bit of practice, but it is easy when you understand it. Flip the bike, you have a small barrel adjuster on the derailleur, screw it all the way in with your shifter positioned for the bottom cog (Smallest).
Click up once, then turn the barrel adjuster outwards until it jumps up to the next cog. Then click up again, and it should jump to the next. If it doesn’t, then slightly adjust it outward further. Repeat this process till you get the biggest gear, and you will then be indexed.

Replacing A Hanger
The hanger is a small piece of metal that sits between the bike frame and the rear derailleur. Most hangers are unique to a particular model or brand of bike. They are designed to break to protect the derailleur when it gets knocked. Everyone should have a hanger in their spares.
Replacing a hanger is easy. Remove the rear derailleur and leave it hanging on the chain. Remove both pieces of the old hanger and put the new hanger in place. Add the rear derailleur and, if necessary, index your gearing.

Adjust Your Brakes
Although you might not think it to be something you will need to do on an adventure, it has always come up for me. You have three different types of brakes, rim, mechanical disc, and hydraulic discs. Depending on the types of brakes you are using, the repair is different.
Rim brakes are adjusted on the caliper bolt and with the cable tension. Mechanical disc brakes are caliper adjustments and cable tension. Then you have hydraulic brakes, which need caliper adjustments, and the pistons need resetting.
Depending on the type of brakes you have, I highly recommend searching for a full, in-depth guide online that runs through the process properly and safely. If you are looking for brakes that are easy to work on, cables are best. If you want performance and reliability, then hydraulics.

Replace Brake Pads
So few bikepackers carry spare brake pads, and I think this is absolutely crazy. I have had to replace brake pads a few times on adventures, and there’s no denying that I needed them drastically. The standout time was on a gravel road in the Andes mountains.
Depending on the brake pads you have, the process differs, the most common being a disc brake where you need to remove the safety clip of the caliper, remove the pin, and then swap the pads, followed by a brake adjustment.

Chain Repair
It’s not rare for a chain to break when bikepacking. You are carrying more weight, and when it comes to steep climbs, you transfer a lot of weight through the pedals. This can cause a link to snap if the chain is weak.
Repairing a link is easy. All you need to do is break the chain with a multi-tool, put the new link in, pop the link onto the chainring, and apply power, and it will click into place. Ensure to carry at least two chain links.

Sewing Bikepacking Repairs
Bikepackers think I’m crazy when I tell them I carry a sewing kit. Still, it weighs nothing and comes in handy in unique situations. Obviously, it’s good to learn how to sew if you have one, as it won’t be as handy if you don’t.
I have repaired a bikepacking bag that got ripped open by a dog, fixed clothing, and even heard of other bikepackers using them to repair tires, which is incredible. They are fantastic and totally worth keeping in your kit.

Change A Cable
It’s not a job you might do on the road, but if a cable snaps and you can’t get gears, it’s totally worth doing. If you have rim or mechanical disc brakes or are using mechanical gearing, which is what most people are on, then cable changes might need to be done.
Changing a cable isn’t too hard. Just remove the end from the caliper or derailleur, pull it through to the shifter or brake, insert the new cable, and make adjustments. Now you have a new cable in and ready to go.

How To Avoid Your Bikepacking Bike Breaking
So, how do we avoid these bikepacking mechanicals from happening? Here are my top tips for keeping your bike in the best form on an adventure!
Service Before Leaving
For the best reliability, you should service your bike before leaving. Fresh components work better and last longer. I always check everything and change anything before each long ride or trip.
Keep It Clean And Oiled
Clean bikes last much longer. Dirt gets in your components and starts ruining them quickly. Always try to keep your bike clean and oiled to stop it breaking sooner than you want it to.
Use Good Components
If you use components from decent brands, they last much longer and work much better. Brands like SRAM and Shimano make components to suit all budgets, and they will just continue to go, providing you look after them.
Treat It With Care
Look after your bike when bikepacking. Don’t hammer it everywhere, load it properly, and don’t let it fall over. The better you look after your bike, the better it will look after you.
Check Your Bolts And Torque
Before each big ride, I like to go around the bike and just check that all the bolts are tight and at the correct torque. This helps bolts not snap and ensures they don’t come loose, which often results in further problems.

Tools And Spares You Should Carry For Bikepacking Repairs
Carrying the right spares goes a long way to being ready for repairs on an adventure! Here’s what I recommend taking with you. Here’s the tools and repairs section of The Ultimate Bikepacking Kit List I put together!
| Tool Or Spare | Purpose |
| Pump | To inflate your tires after a puncture or when they go down. |
| Spare Tubes | To repair punctures or as a backup for a tubeless system. |
| Tire Levers | For the removal of your tires from the rim. |
| Patches | To repair inner tubes if required. |
| Tire Boot | To help temporary repair rips in tires until it can be replaced. |
| Spoke Key | To adjust spokes if the wheel gets out of true. |
| Multi-Tool | This is used for making adjustments, try and get one with a chain tool. |
| Tubeless Plugs | If you use a tubeless system they are required for repairs. |
| Chain Links | To repair you chain if it breaks at any point |
| Spare Valve | If the valve on your tubeless or inner tube breaks. |
| Chain Lube | The smoother your chain works the better it will work and not break. |
| Derailleur Hanger | Unique to each bike. Must be taken as hard to find on travels. |
| Cables | Brake or gear if required as a spare incase one breaks. |
| Sewing Kit | To fix general goods such as clothing and bags. |

A Final Note: Bikepacking Repairs
Bikepacking repairs are often part of an adventure, and it’s good to know and understand how to fix issues quickly and efficiently. You can do many tasks on the roadside, but not everything. Learn what you can and enjoy the good adventures.
If you enjoyed this article, you might like Dealing With Dogs When Bikepacking, 11 Things You Must Do Before A Bikepacking Trip, and How To Plan A Bikepacking Route!
One response to “Bikepacking Repairs You Must Learn Before An Adventure!”
[…] bike. Ultimately, it’s a mountain bike without suspension. They are incredibly basic, so making repairs on the go isn’t too difficult. Some parts, such as wheels and tires, can be challenging to […]